FastAPI + Recat 전체 프로젝트 구조 (베스트 프랙티스 )
C:\fastApi
│
├── backend/                # FastAPI 서버
│   ├── app.py
│   ├── main.py
│   ├── run.bat
│
├── frontend/               # React 프론트엔드 (CRA로 생성)
│   ├── public/
│   ├── src/
│   │   ├── api/            # 백엔드 API 호출
│   │   │   ├── App.js   # axios 설정
│
└── README.md               # 전체 프로젝트 설명
우선 이렇게 backend는 FastAPI, frontend는 React로 프로젝트를 만들어 보려고 한다.
https://bright-landscape.tistory.com/456
FastAPI로 처음 웹에 데이터 띄워보기 (uv)
이전 포스팅에서 pip를 사용해서 FastAPI를 사용해보았다. https://bright-landscape.tistory.com/453 FastAPI로 처음 웹에 데이터 띄워보기1. CMD로 파이썬 버전 확인 python --verison 에서 버전이 안나오면, 제대로
bright-landscape.tistory.com
이전 포스팅 했던 FastAPI와 같이 python uv버전으로 프로젝트를 만들어 주자.
FastAPI
1. ASGI 서버 실행
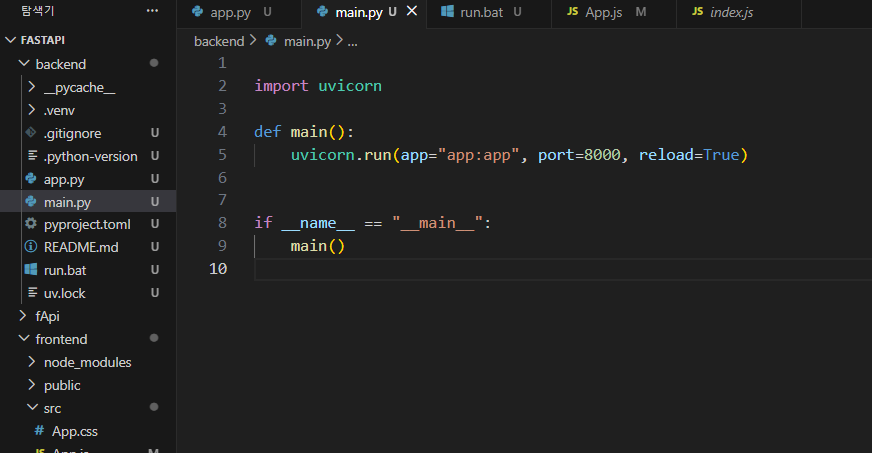
uvicorn - FastAPI를 실행시키는 ASGI서버이다.
uvicron.run()은 FastAPI앱을 실행시키는 함수로, 실행되면 main.py에서 app 객체에 접근하도록 코드를 생성해주었다.
2.. fastAPI 에서 CORS 미들웨어 추가하기
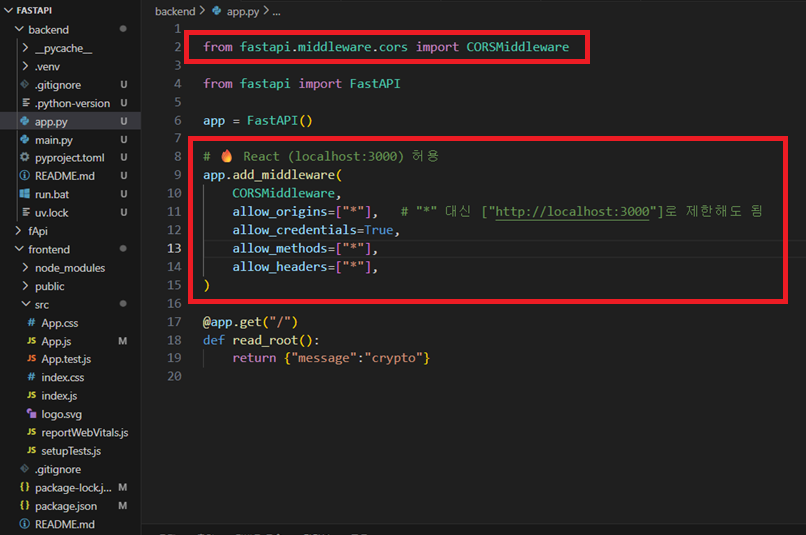
fastAPI는 포트번호 8000번을 썼고, React는 포트번호 3000번을 사용하고있다. 이때, CORS 문제가 발생될 수 있기 때문에FastAPI에서 응답이 와도 React가 response.data.~~에 접근할 수 없어 middleware.cors를 추가해줘야한다.
from fastapi.middleware.cors import CORSMiddleware
from fastapi import FastAPI

app = FastAPI()

app.add_middleware(
    CORSMiddleware,
    allow_origins=["*"],
    allow_credentials=True,
    allow_methods=["*"],
    allow_headers=["*"],
)

@app.get("/")
def read_root():
    return {"message" : "crypto"}
3. uvicron app:app --reload
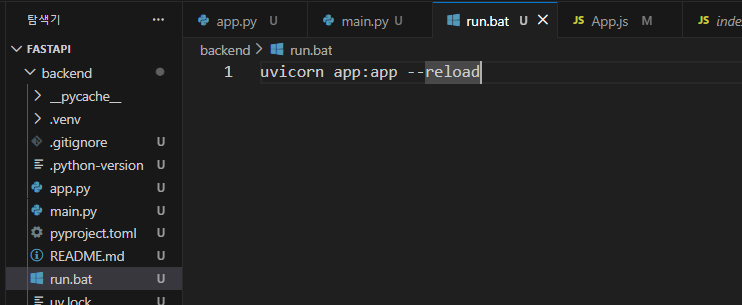
cmd 창에서 uvicron app:app --reload를 쳐도 상관없지만, 나는 단순히 run 치고 싶어서 run.bat 파일도 만들어두었다.
이렇게 해서 서버를 실행시키자.

React
1. cmd 창에서 frontend 리액트 파일 생성하기

npx create-react-app@latest frontend
가장 최신버전의 create-react-app을 사용해서 frontend라는 이름의 React 프로젝트를 만들라는 명령어이다.
몇 십초 ~ 몇 분 기다리다보면 맨 마지막에 Happy hacking! 까지 뜨면 완료된 것이다.
2. VisualStudio 터미널에서 axios를 설치
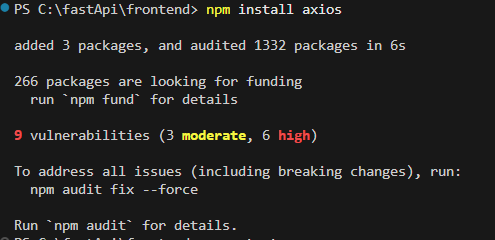
npm install axios
frontend 파일을 만들었으니, cmd창에서 cd frontend로 접근 한 후 axios를 설치하자.
3. App.js에서 fastApi와 연동 및 파라미터 전달 받기

import React, { useEffect, useState } from "react";
import axios from "axios";


function App() {

  const [message, setMessage] = useState("");

  useEffect(() => {
    axios.get("http://localhost:8000/")
      .then(res => setMessage(res.data.message))
      .catch(err => console.error(err));
  }, []);


  return (
    <div style={{ padding: "3rem" }}>
      <h1> FastAPI + React 연동 하기</h1>
      <p>FastAPI에서 받은 파라미터 : {message}</p>

    </div>
  );
}

export default App;
코드들에 대한 설명은 이전 React 포스팅을 했던 것을 참고해보자.
https://bright-landscape.tistory.com/392
[React] useEffect의 개념 및 실행 시점의 차이 및 사용예제
useEffect란? 함수형 컴포넌트에서 side effect를 수행하고, 컴포넌트의 생명주기에 특정 작업을 연결하는 Hook이다. 이는 컴포넌트가 렌더링될 때, 업데이트될 때, 혹은 제거될 때 특정 작업을 수행하
bright-landscape.tistory.com
4. VisualStudio 에서 React 실행 명령하기 (npm start)
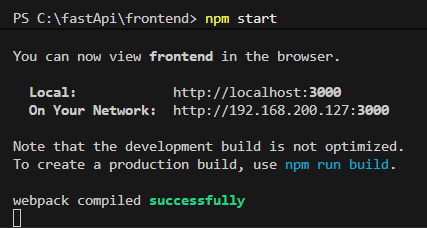
npm start
이렇게 해주면 끝난다.

※ key 값이 맞아야한다.
결과 화면

이렇게 성공적으로 react 포트번호 3000번에 fastAPI의 포트번호 8000의 데이터를 가져오는 것에 성공했다.
'✨ python > FastAPI' 카테고리의 다른 글
| FastAPI로 업비트 차트 React로 JSON 형식 데이터 가져오기 (0) | 2025.12.08 |
|---|---|
| 업비트 API 환경변수 세팅 및 FastAPI 로 자산 조회하기 (0) | 2025.12.06 |
| FastAPI로 처음 웹에 데이터 띄워보기 (uv) (0) | 2025.12.05 |
| FastApi로 라우터(Router) = 컨트롤러(Controller) 만들기 (0) | 2025.12.05 |
| FastAPI로 처음 웹에 데이터 띄워보기 ( pip, .venv ) (0) | 2025.12.05 |

댓글